What Makes Installing Windows & Doors in Log Homes Different
(and How to Do It Right)
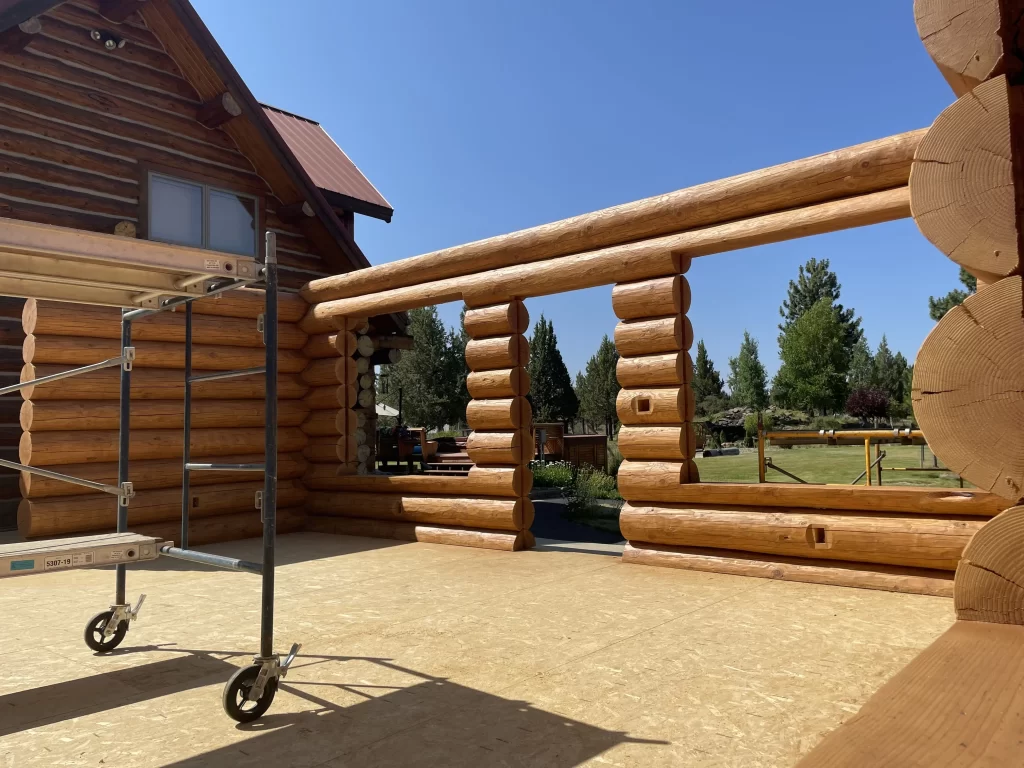
Installing windows and doors in a full-log home isn’t the same as installing them in a stick-built or timber-frame house. Log walls move. They settle. They shift with the seasons and the weight of the structure. That’s why proper installation—done with settling in mind—is absolutely critical to avoid long-term issues like drafts, water leaks, or pinched window frames.
In this guide, we’ll break down the key considerations, materials, and steps to correctly install and seal windows and doors in log home construction—ensuring beauty, durability, and energy efficiency for years to come.
Why Log Home Installations Are Unique
Unlike conventional stick-frame builds, logs move. And full-log homes require you to build with movement in mind. Even kiln-dried or engineered logs settle over time. As the logs adapt to their new environment (which is typically different from the place the tree was cut down that you’re using to build with) they seeks to find moisture equilibrium – which can cause them to shrink and move. Logs will also compress under their own weight and that of the roof and upper floors, which wall cause movement in the walls—usually within the first couple of years.
Common settling challenges include:
-
Compression of gaps above windows and doors
-
Pressure on window or door frames that can lead to warping or sticking
-
Air and water leaks caused by this movement that pulls caulking apart or causes flashing to separate from it’s installation point
Log homes often require:
-
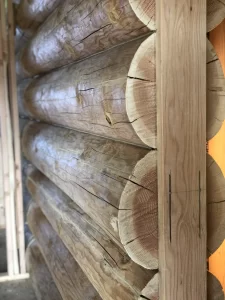
A settling gap (often 1”–1½”) above the window or door
-
Slotted jambs on the sides to allow vertical movement
-
Compressible insulation like open-cell foam that can flex without pinching
-
Flexible sealants that move with the logs and maintain a tight seal
Step-by-Step: Proper Window & Door Installation in a Log Home
Here’s the general process followed by professional contractors familiar with full-log construction:
1. Create the Rough Opening
-
Frame the opening ½″ larger than the actual unit size.
-
This allows for shimming, adjustment, and insulation.
2. Install and Shim the Unit
-
Set the window or door plumb and level using shims.
-
Ensure operation is smooth before insulating or sealing.
3. Insulate the Gap
-
Use open-cell spray foam around the rough opening.
-
Avoid closed-cell foam, which expands more aggressively and can pinch the frame as the logs settle.
4. Tape the Flanges
-
Apply a high-quality exterior tape, such as ZIP System tape, over the window/door flanges.
-
This step provides a weatherproof barrier before adding trim.
5. Account for Settling
-
Leave a gap above the frame to accommodate downward movement.
-
Add flashing above the opening that allows for movement without creating a leak path.
-
Install slotted side jambs using nails and washers that aren’t driven too tight—this allows the logs to slide down slightly over time.

Sealing and Finishing with Flexible Products
Once the window or door is installed, the final sealing step is crucial for keeping moisture, air, and insects out—and giving everything a polished, professional look.
Recommended Products:
- Flexibile Caulking from Companies like Sashco or Perma-Chink: They each have a few different sealants that will perform well in this application (Conceal or Log Builder from Sashco & EnergySeal from Perma-Chink)
- These are textured, stainable caulks ideal for sealing around window and door trim. These products are designed to move and stretch with the logs without cracking or failing, can be bought in colors that match your stain and give you peace of mind for years to come!
These sealants are both functional and aesthetic—designed to flex and stretch with the logs as they move without failing, maintain a tight seal, and enhance the visual appeal of your finish.

Testing for Air Tightness: Your Insurance Policy
Even the best installer can miss a spot. That’s why we always recommend a blower door test and infrared thermal imaging to detect air leaks in your logs.
-
A blower door test checks air exchanges per hour (ACH); modern standards aim for ≤ 3 ACH50.
-
Infrared cameras, like the SEEK Thermal or FLIR systems, can pinpoint drafts or heat loss spots—ideal after the home has settled.
For newly constructed log homes or homeowners of existing log homes (especially 2+ years old), these tools are invaluable for diagnosing and correcting problem areas around windows, doors, and other penetrations.
Important Reminders for Homeowners
Proper window and door installation isn’t a one-and-done job—it’s a system designed to evolve with the home.
Here are a few final tips:
-
Don’t skip the settling gap—even engineered logs settle under load.
-
Use only open-cell foam for insulation around frames.
-
Seal the trim carefully with flexible sealants designed for log homes from reputable companies like Sashco or Perma-Chink.
-
Plan your HVAC wisely—tight homes need controlled ventilation to prevent moisture buildup.
-
Inspect yearly—especially after the first two years—for signs of settling, movement, or sealant wear.
Final Thoughts
Installing windows and doors in a log home is part science, part art. When done right, it supports the home’s longevity, improves energy efficiency, and keeps the weather and bugs out—without compromising on the rustic charm that makes log homes so beloved.
If you’re planning a new build or need help evaluating your current home’s windows and doors, working with an experienced log home contractor is essential. And if you’re doing the sealing yourself, stick with trusted products that were made for movement—because in a log home, movement is a given.